We use cookies and other tracking technologies to improve your browsing experience on our site, show personalized content and targeted ads, analyze site traffic, and understand where our audiences come from. To learn more or opt-out, read our Cookie Policy. Please also read our Privacy Notice and Terms of Use.
By choosing I Accept, you consent to our use of cookies and other tracking technologies.
Adding your students is the very first step for music teachers when using MusicTeacherNotes. It’s part of the three-step onboarding process for students:
We’ll cover the scheduling and connecting steps in other videos, but for now, focus on adding all of the students you currently teach. This quick step should only take a few minutes.
On your dashboard, go to the Students section and click the Add Students button. You can enter all of your students in just a few minutes. Once added, they will be ready for scheduling and connecting.
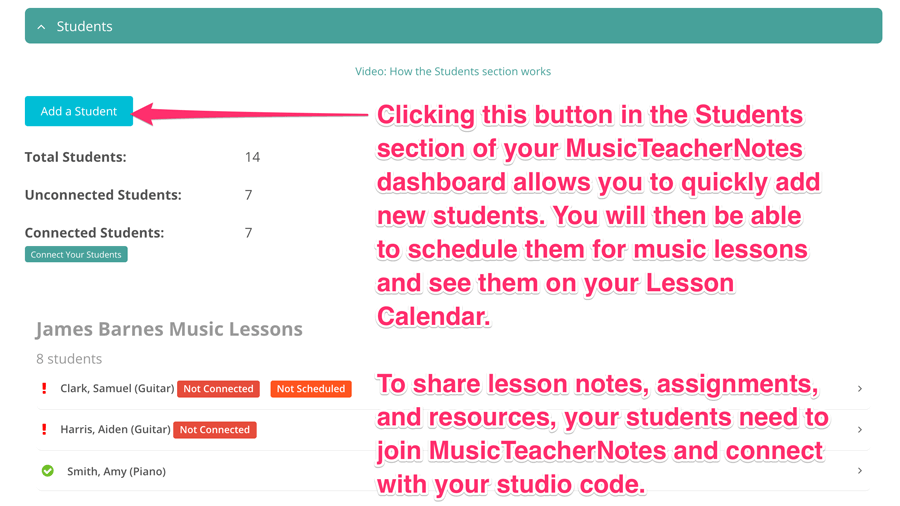
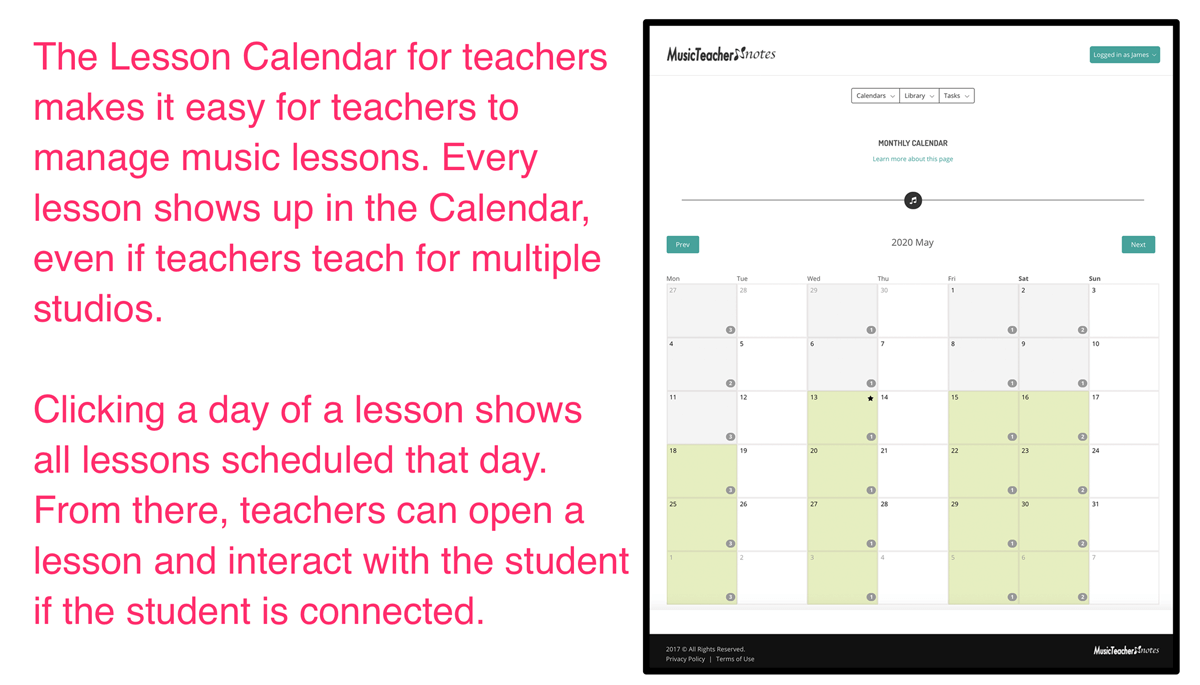
After you’ve added your students, you can schedule their lessons so they appear on your calendar. However, students will still need to connect to your account before they can interact with you and access all the features MusicTeacherNotes offers.
To connect, students should register a free account and enter your Studio Code. You can find this code in the Profile section of your dashboard. To make the process easier, we provide several Connect Methods to help you share your code and answer common student questions.
Once students connect to your studio, MusicTeacherNotes becomes both a music teacher helper app for the student and a music teacher scheduling app for you. This connection unlocks the full set of tools designed to make music lessons more organized, engaging, and effective.
